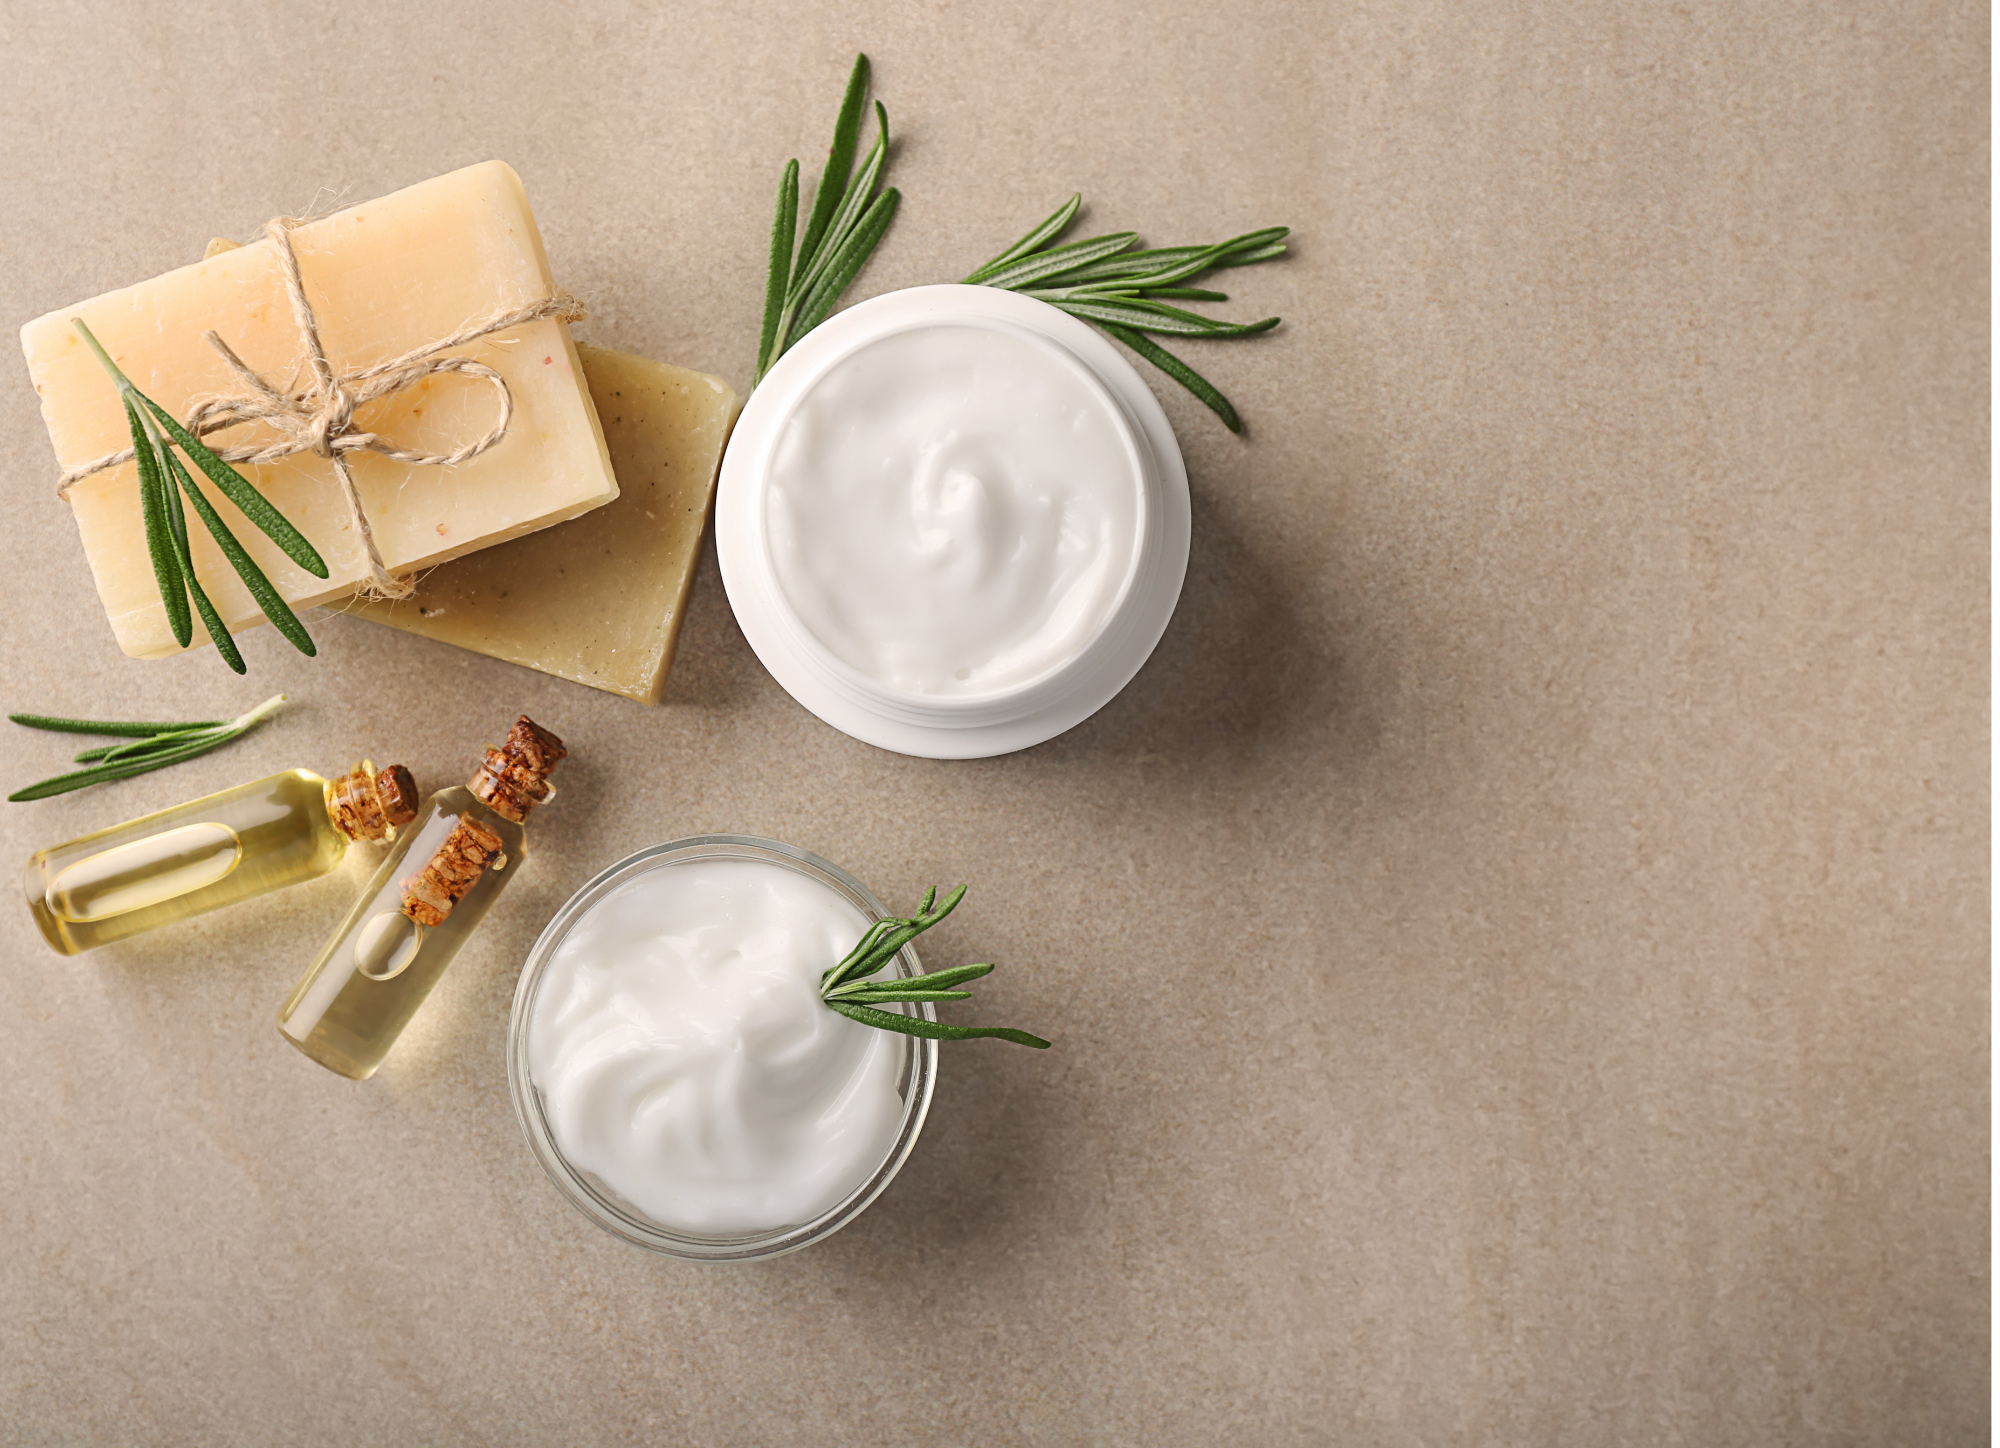
How to make a herbal cream
Learning how to make a herbal cream is a wonderful way of including your home grown herbs into your skincare routine. This simple but nourishing cream can be used in a few different ways – from soothing dry skin to providing a natural remedy for minor irritations. Follow our step-by-step guide below.
What is a herbal cream?
Herbal cream is very similar to making a herbal salve – the key difference is that it includes water (or hydrosol) to create a more smooth consistency that absorbs more quickly, feels less greasy, and is better for daily moisturising or sensitive skin. Like a herbal salve, a herbal cream is often made using a combination of infused herbal oils and beeswax; we recommend reading our blog post on how to make an infused herbal oil before making your cream.
What is a herbal cream used for?
Herbal cream has many uses thanks to its soothing nature. Common applications include:
- Moisturising dry skin: The natural oils and beeswax in the cream provide deep hydration and create a protective barrier.
- Soothing irritations: Herbs like chamomile and calendula have anti-inflammatory properties that can help calm irritated or sensitive skin.
- Healing minor cuts and scrapes: The antiseptic qualities of herbs such as lavender and rosemary aid in the healing process of minor wounds.
- Relieving muscle aches: A blend of peppermint or arnica can provide relief from sore muscles and joint pain.
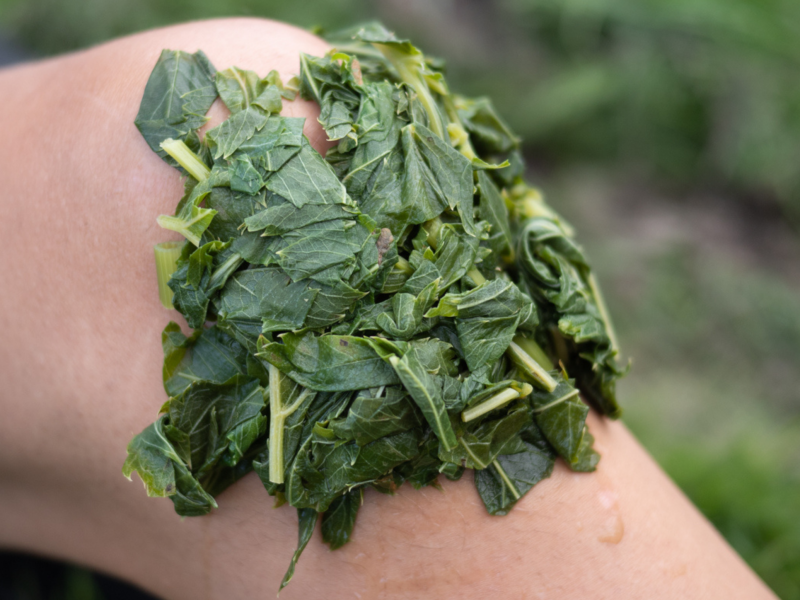
Which herbs can I use to make a herbal cream?
Below is a list of herbs that you can find on our website that can be made into herbal creams. These are our favourites:
-

Arnica, Meadow
Price range: £3.25 through £4.00 Inc VAT -

Bee Balm
£3.00 Inc VAT -

Calendula
£2.75 Inc VAT -

Evening primrose
Price range: £2.75 through £6.00 Inc VAT -

Thyme, Common
£2.50 Inc VAT -

Yarrow
£2.75 Inc VAT
There are of course many more plants that can be made into herbal cream:
Other herbs that can be made into herbal creams include comfrey, rosemary and peppermint.
How do I make herbal cream?
The recipe below is based on our simple recipe for making a herbal salve. The bold writing indicates the different steps that are required for making a herbal cream:
Prep Time
15 mins
Cook Time
60 mins
Difficulty
Medium
Ingredients (per batch)
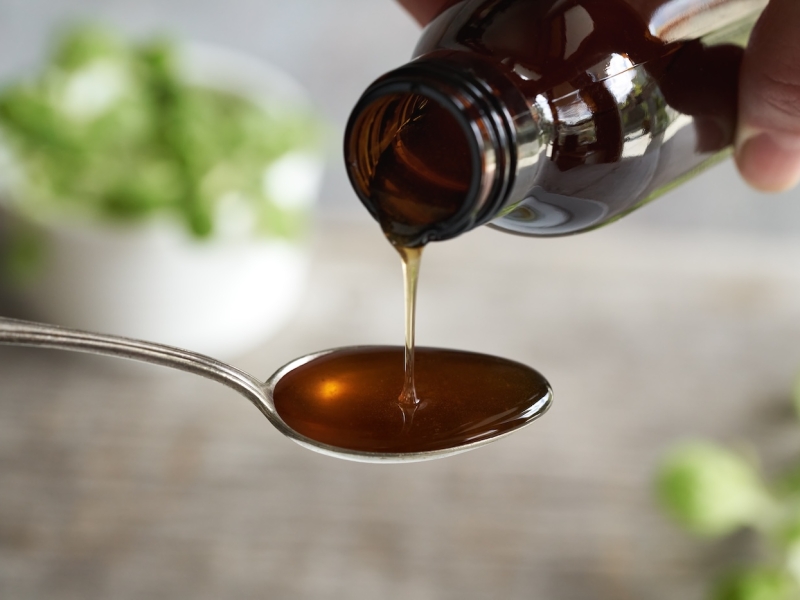
- Infused herbal oil: 4 parts (e.g., 100 ml). See our blog on how to make an infused massage oil for more details.
- Beeswax: 1 part (e.g., 25 g; adjust for desired firmness)
- Optional: shea butter, cocoa butter, or coconut oil – up to 1 part (e.g., 25 g) for extra creaminess
- Distilled water or hydrosol: 4 parts (e.g., 100 ml) to create a cream base
- Optional: essential oils – a few drops for scent or added herbal benefits
- Optional: Natural emulsifier such as lecithin: ~0.5–1 part of total oil weight to help blend oil and water
Equipment
- Clean cream jars or tins
- Heatproof bowl or bain-marie
- Small ladle or heat-proof funnel for pouring into jars
- Immersion blender or whisk to emulsify the cream
Method
- Prepare your infused oil: Measure the amount of infused oil you want to use.
- Melt the beeswax and optional butters: Place the oil in a heatproof bowl over gently simmering water. Add beeswax (and any optional butters) and stir occasionally until fully melted.
- Heat water phase: Gently warm the distilled water or hydrosol in a separate heatproof bowl to a similar temperature as the melted oils.
- Combine phases: Slowly pour the warm water into the oil mixture while whisking continuously, or use an immersion blender to create a smooth cream. Add emulsifier if using.
- Add essential oils: Remove from heat and stir in a few drops of essential oils if desired.
- Pour into containers: Carefully fill clean jars or tins, leaving a little space at the top.
- Cool and store: Allow the cream to solidify at room temperature. Once cooled, seal the containers and store in a cool, dry place.
Your homemade herbal cream is now ready to use! It should last 4–6 weeks without preservatives, or longer if you include natural preservatives like vitamin E or rosemary extract.
Tips
- Apply as needed a few times a day.
- To test consistency: take a teaspoon of the warm cream, place it on a saucer, and let it cool. Adjust beeswax or butters next batch if it’s too soft or firm.
- Always use clean equipment to reduce contamination and extend shelf life.