Top tips for drying your herbs
It’s hard to beat the quality and taste of herbs freshly harvested from the garden. But if you want to store them and make use of them in the winter which is often when we need them most, they’ll need to be preserved, and the easiest way to do that is to dry them. Here are some top tips on how to dry your herbs:
Dried herbs can be added to your favourite meals, made into teas, tinctures, decoctions, infusions, honey and so much more (check out the blog for other ideas). Of course, you can easily find dried herbs online but they will rarely match the quality (or value) of herbs you have grown and dried yourself.
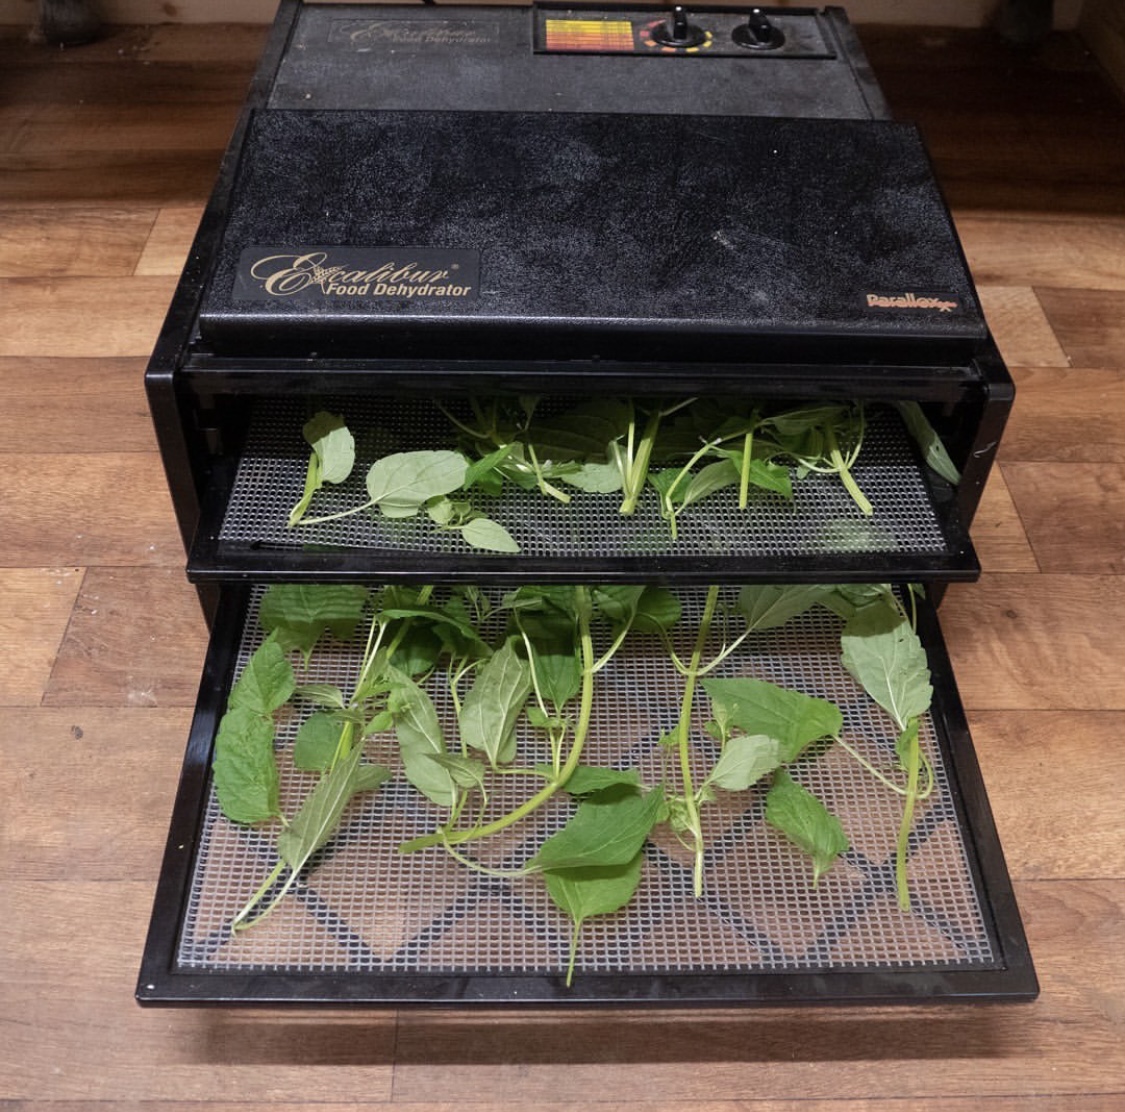
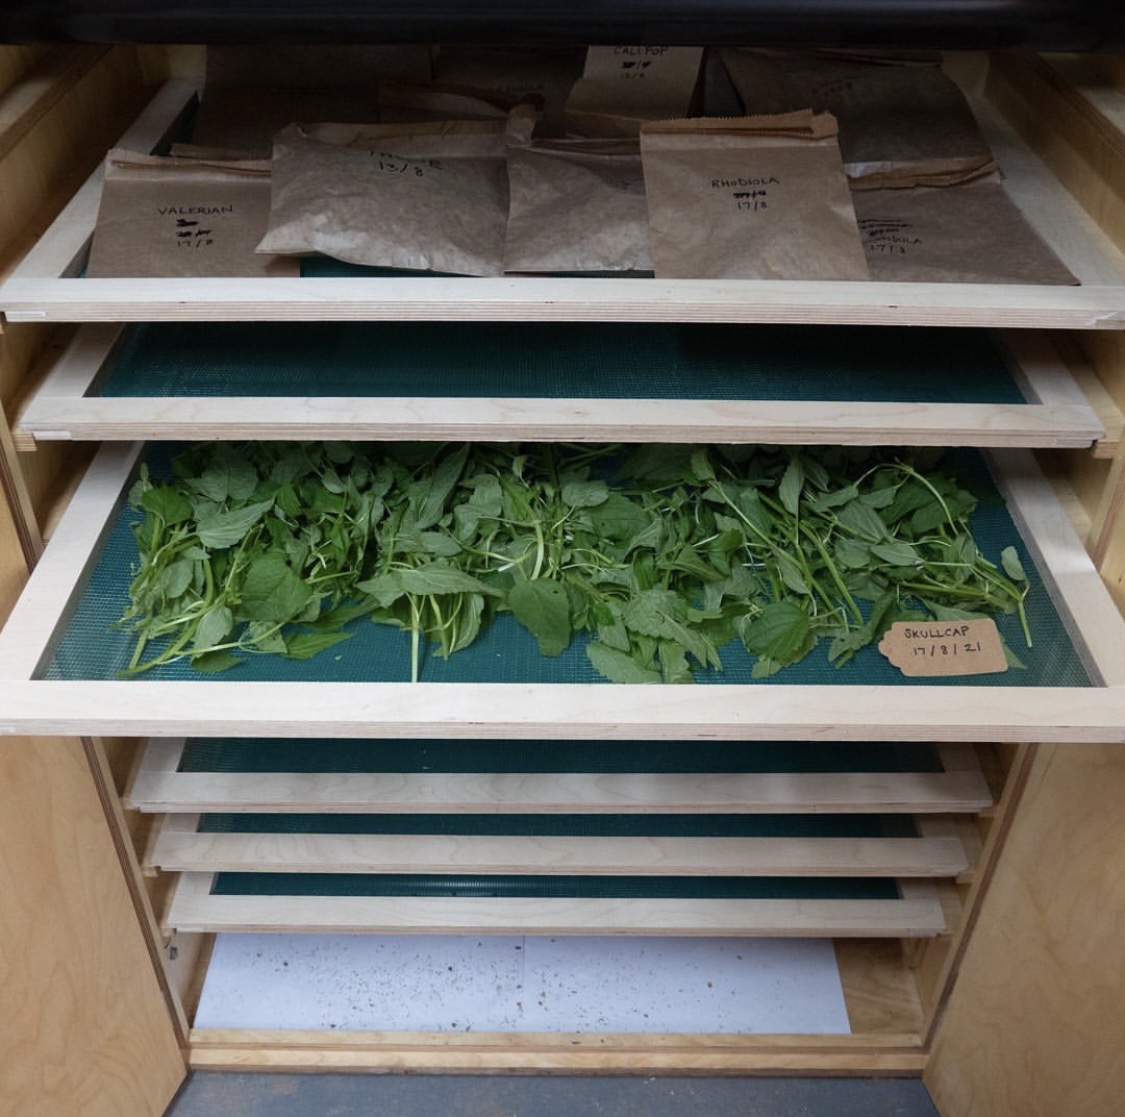
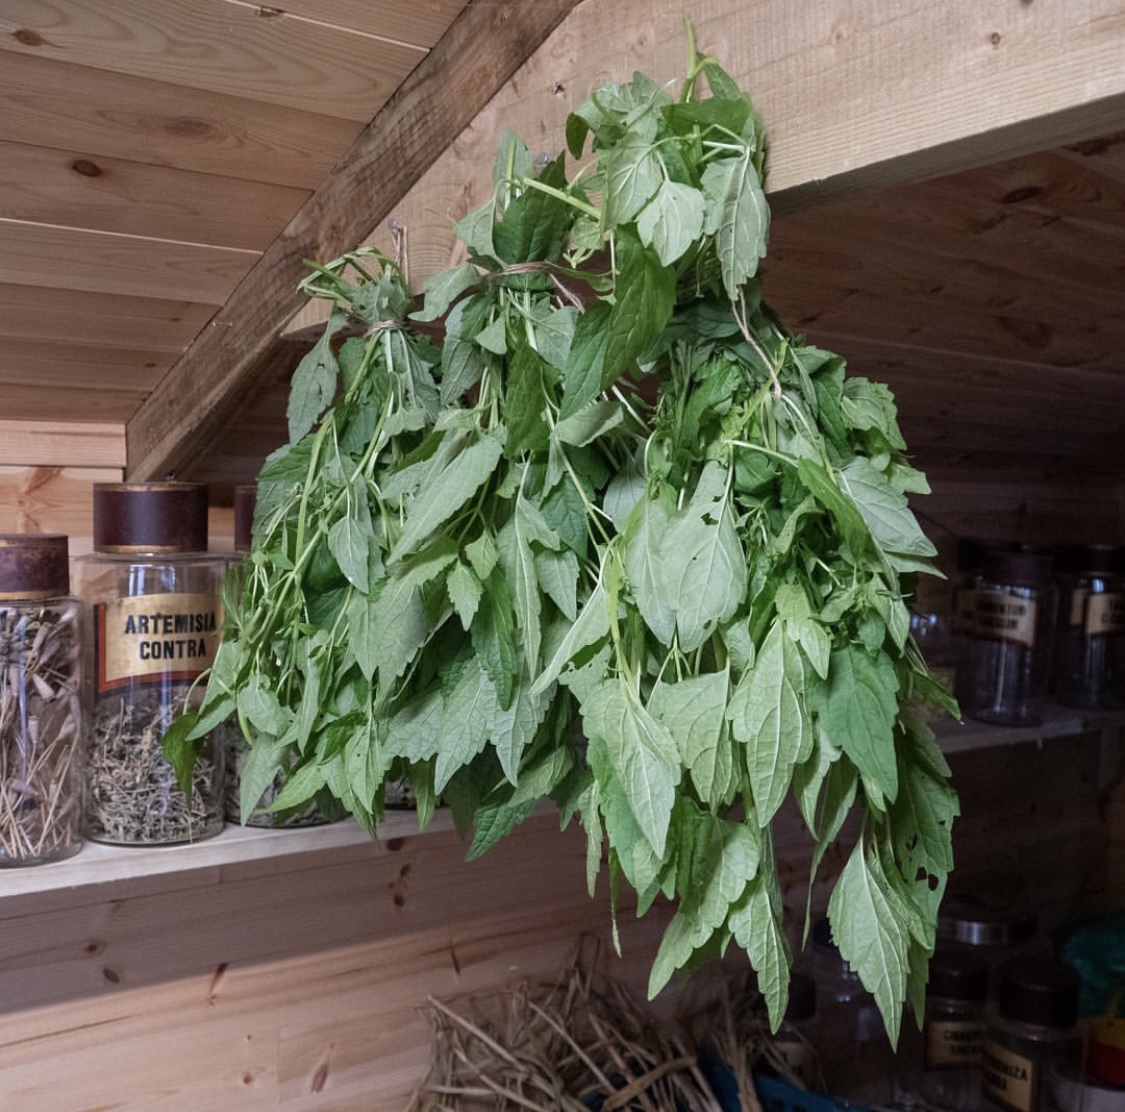
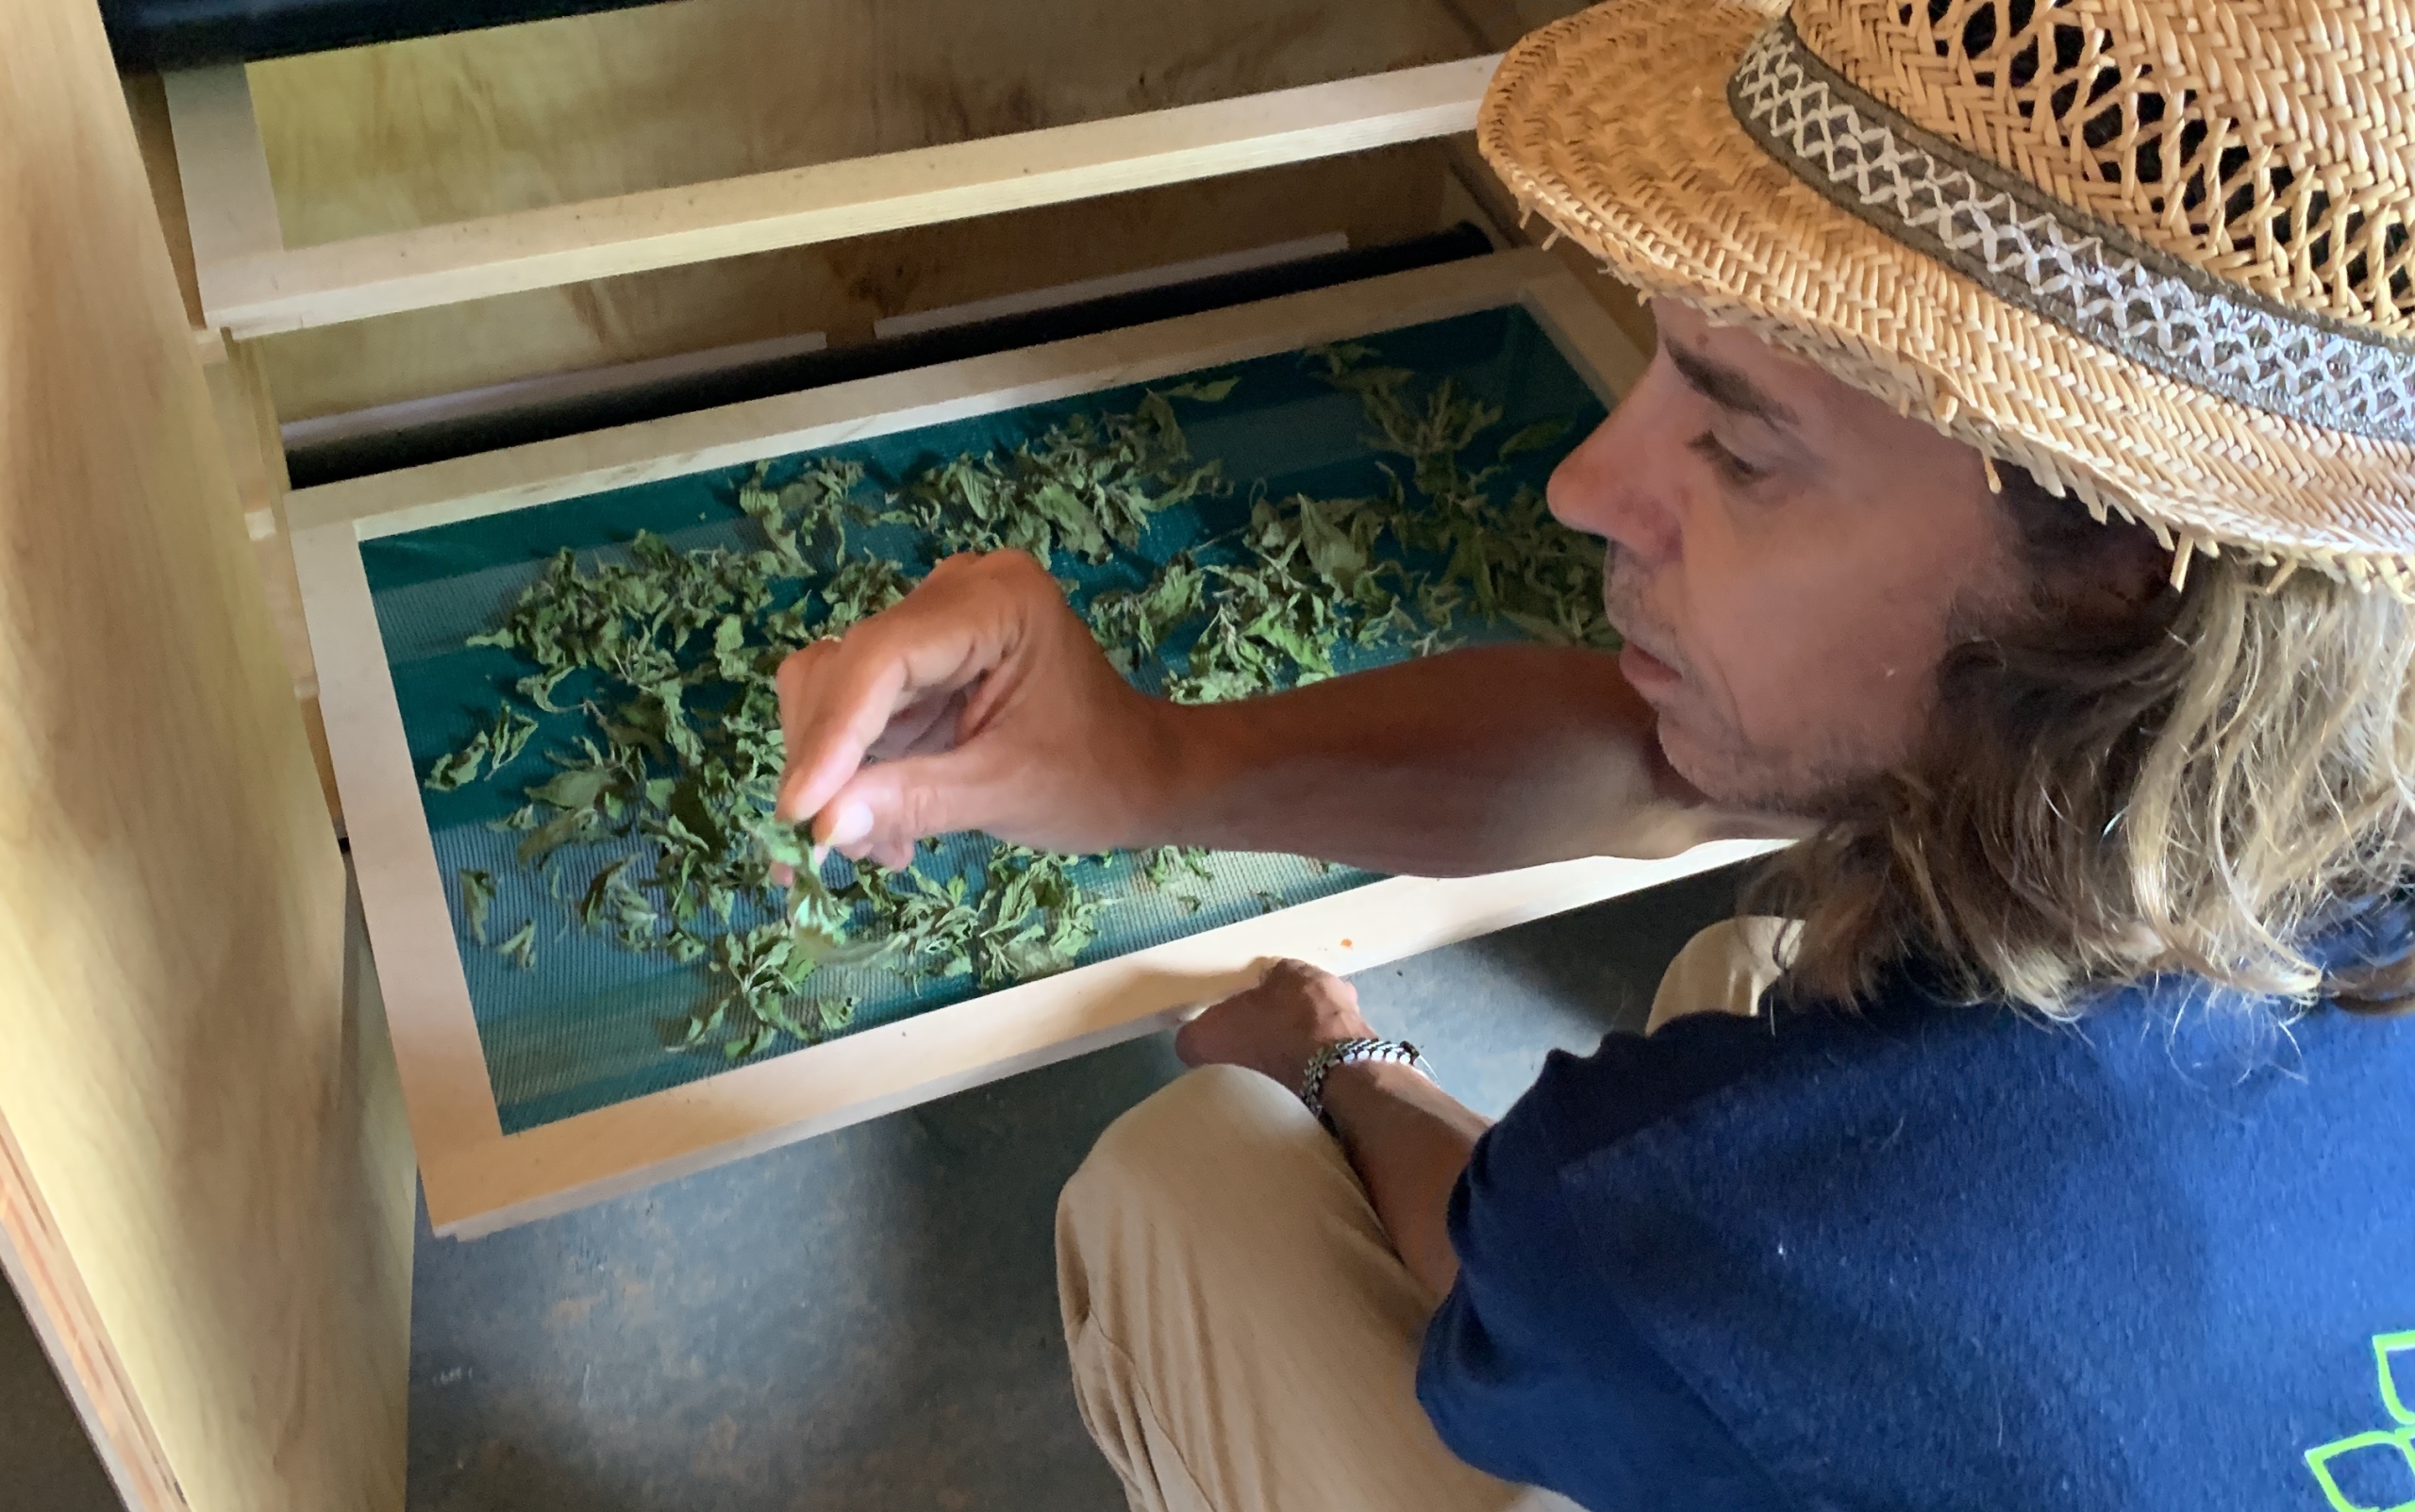
If you’re planning to do a lot of drying, you might consider investing in a dehydrator or building your own drying cupboard. But in most cases, it’s unnecessary to spend money on a fancy drying system – all you need is a warm, dry place, preferably with some airflow. An airing cupboard is perfect. An airing cupboard with a small extractor fan or dehumidifier is even better! Lay them out on a stretched cloth or hang them in bunches, using whatever materials you have available.
There are a few important guidelines and principles to follow:
- Spend some time sorting through your herbs while they are fresh, taking care to remove any plant material that is damaged, diseased or contaminated with dirt. It’s much harder to clean herbs once they’re dry.
- Only wash leaves and stems before drying if it seems necessary – most of the time it’s not. If you do wash them, do it gently and allow excess moisture to drain off / evaporate before putting in the drying cupboard. Flowers shouldn’t need to be washed.
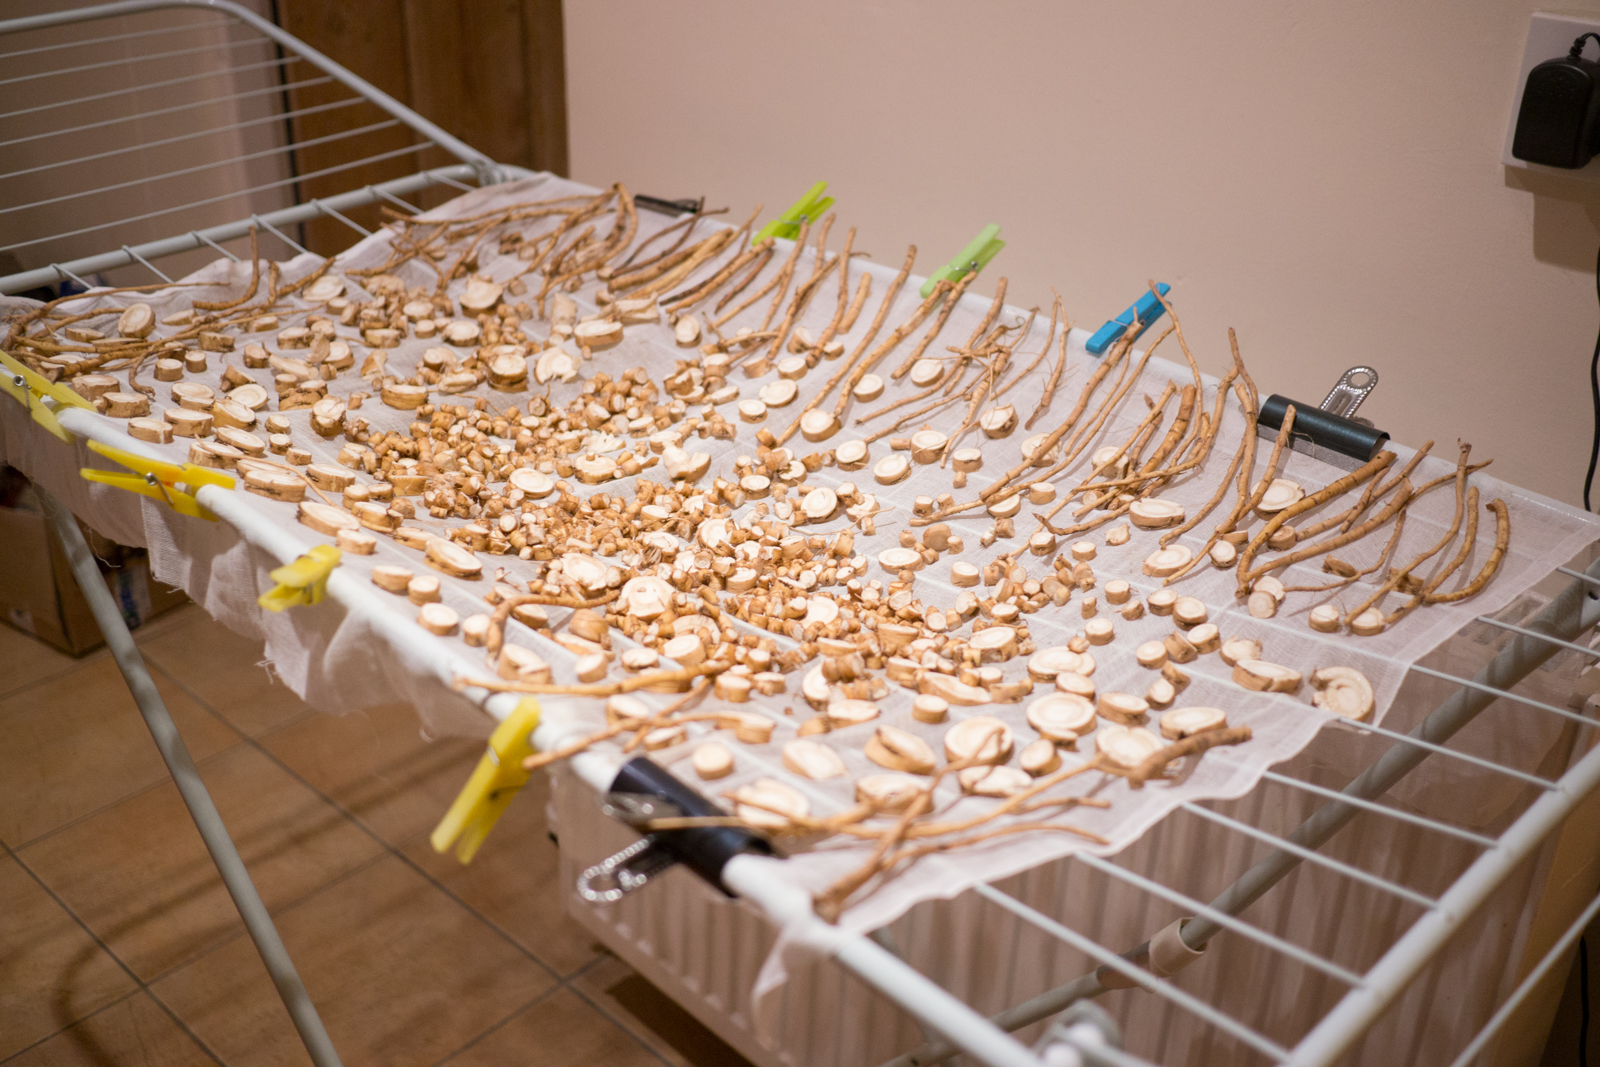
- Roots should be well washed before drying. A high pressure hose is an easy and effective way to remove mud from all the little cracks and crevices. Otherwise just use a scrubber.
- If you are drying aromatic herbs, try not to exceed 30ºC otherwise you lose precious volatile oils. For all other herbs, keep the temperature below 45ºC.
- Some leaves can easily bruise and turn black if they are moved a lot, so try to minimise handling. Leaves lose their green colour if dried in direct sunlight, so it’s best to dry them in the shade. Dry leaves until they crumble between your fingers.
- Stems and stalks should be dried until they can be snapped. It they are bendy it normally means that they need to be dried for longer.
- Flowers need to be dried immediately after harvest if you are to capture their subtle properties. Consider using a combination of heat and fans for best results.
- Bark and roots may require more time to dry. Roots usually dry more quickly and evenly when they have been chopped into smaller pieces/slices to increase exposure to air.
- Try to avoid fluctuations in humidity in the drying area as any moisture in the air will be reabsorbed by the herbs once they have started drying. This is one of the most common mistakes people make, and can significantly reduce the quality of your herbs.
As soon as the herbs are dry store them in an air-tight container. A ziplock plastic bag is ok, but they are not as good as a sealed glass jar (e.g. kilner jars) at keeping the flavour in and moist air out. Remember to label the jar with the herb’s name and date of harvest, and for best results store the jars in a cool, dark cupboard.