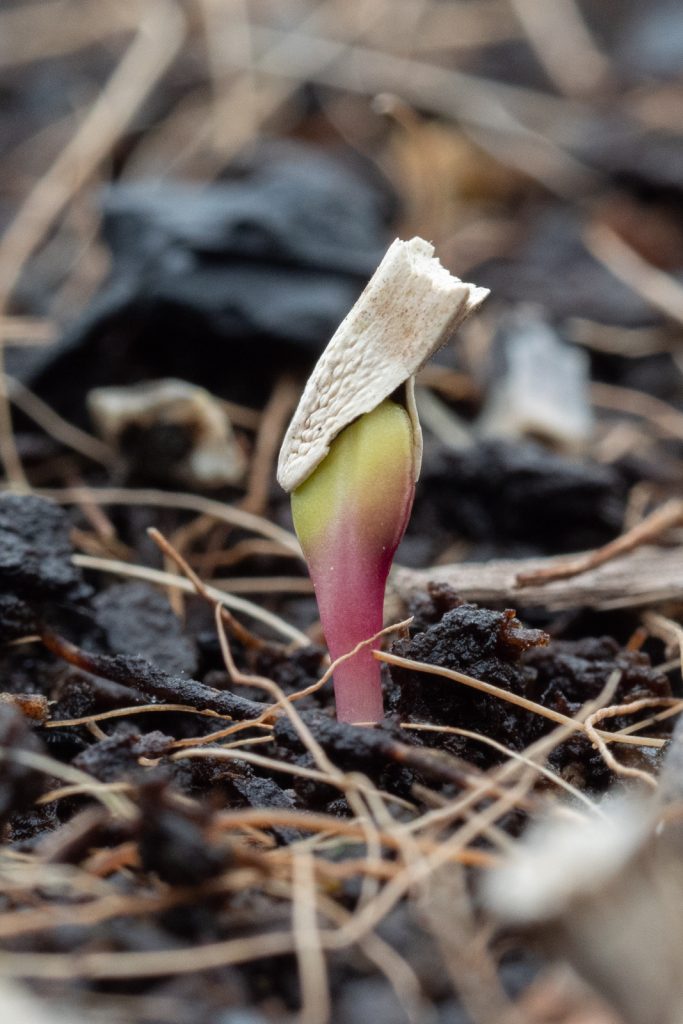
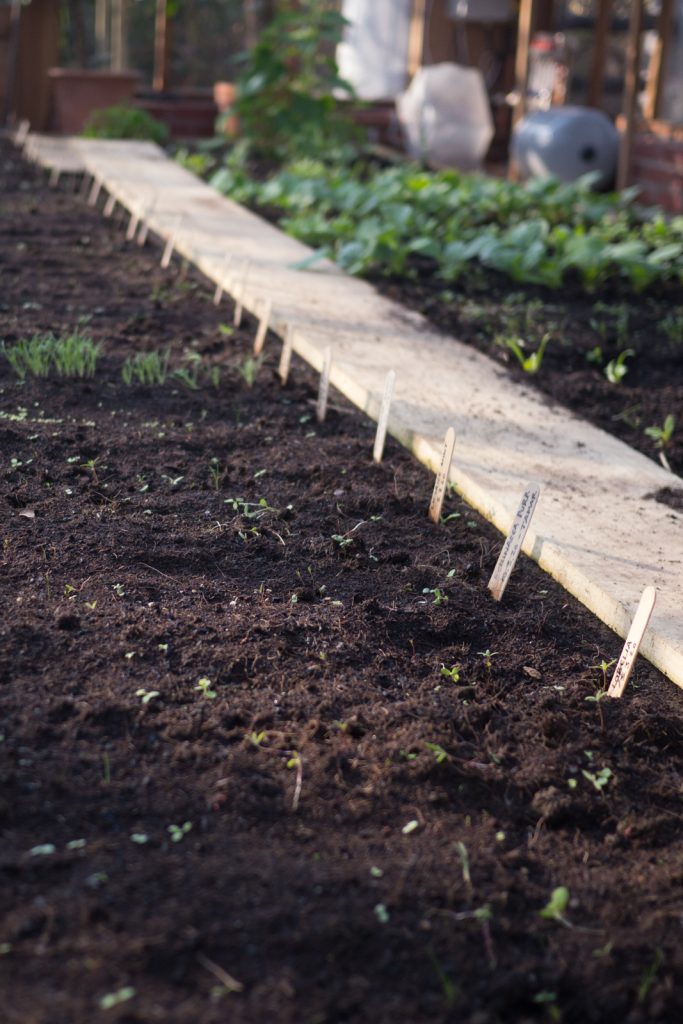
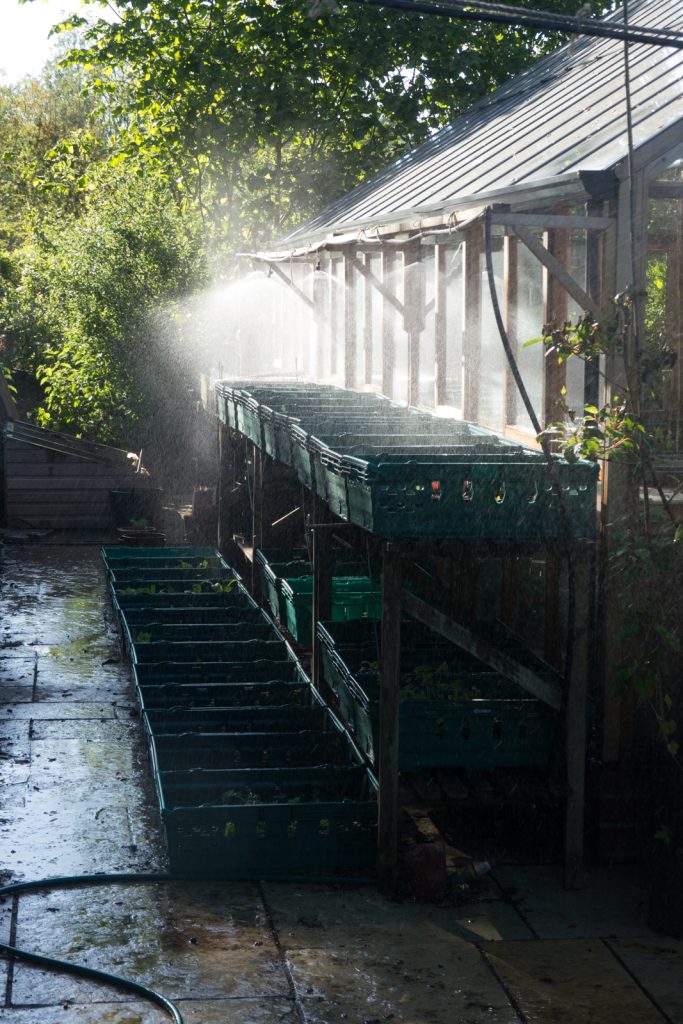
Propagating from seed is by far the most satisfying way of growing herbs. And so long as you follow a few basic principles, anyone can do it.
Humans have been breeding plants – mostly food crops – for thousands of years, selecting seeds that display the genetic traits that we are looking for – including quick and reliable germination. In short, we have been slowly coaxing these plants into changing their behaviour to meet our needs.
Herbs are a little different. With the exception of some culinary varieties, most herbs have spent relatively little time – if any – out of their natural habitat. You could say they are a bit more ‘wild’. And with their wildness comes a number of strategies to survive and reproduce in challenging environments, including the need for specific conditions for their seed to germinate. If we are to succeed in the herb garden, we need to adapt to meet the needs of the herbs rather than trying to bend them to our will.
So with this in mind, there are a few key principles to pay attention to:
When to Sow
Most herb seeds – like vegetables – can be sown in the spring. But there are also many species that need to be sown in the autumn or the winter, or require some kind of treatment prior to sowing to break their dormancy [see stratification/scarification below]. Other species, such as basil, are easy to germinate and can be sown at any time of the year.
The easiest way to check which herbs can be sown at a given time of year is to explore the ‘sowing time’ filter in the shop page. There is nothing more disappointing than buying lots of seed packs only to discover they were supposed to be sown three months earlier.
The correct sowing time will of course depend on whether you are sowing indoors or directly into a garden bed. Many seeds will only germinate once the soil reaches a certain temperature, which means that you might be able to germinate seeds in a greenhouse (or heated propagator) in March, but would have to wait until mid-April before it can be sown outdoors.
Another reason to delay sowing outdoors is that young seedlings can easily be damaged or killed by a heavy frost. If you do sow early, always keep an eye on the weather forecast and take measures to protect your plants if you can (pots can be moved indoors, or you can cover the plants in horticultural fleece).
There are certain seeds that can be sown in late summer or early autumn for ‘overwintering’. Basically, this means keeping young seedlings in a protected place – in a greenhouse or on a window ledge – until the following spring when they can be planted out. This is a common method for growing certain herbs such as milk thistle, giving them a head start so that they yield more flowers and seeds the following year.
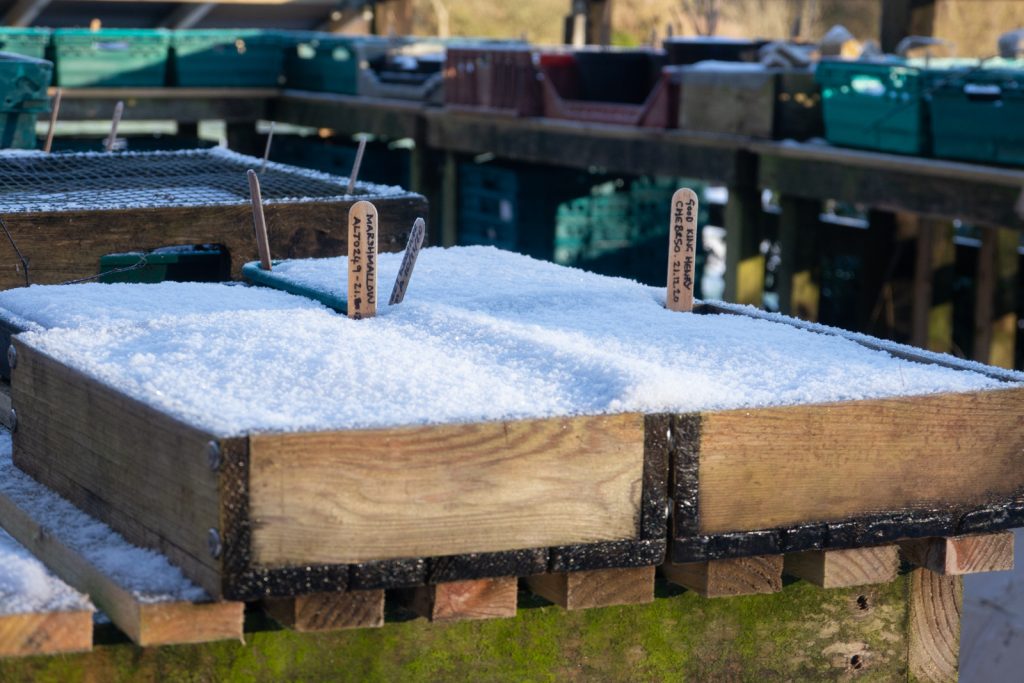
And finally, there are a few herbs such as angelica that prefer to be sown directly outdoors in the autumn; the seed is exposed to cold and wet conditions over the winter, which is exactly what it requires to break its dormancy so that it will germinate in the spring. Read on to learn more…
Seed Dormancy, Stratification and Scarification
Seed dormancy is nature’s way of delaying germination, either to survive extreme conditions (normally heat or cold), or to increase chances of wider seed dispersal. It is a large and fascinating subject, but I will stick to what is relevant for growing herbs in temperate climates.
Let’s take meadowsweet as an example – a common herb that grows throughout the UK, often in damp ditches that flood in the winter. Meadowsweet’s seed matures in September and starts falling off the plants in November. If the seeds were to germinate in the autumn, the young seedlings would have to cope with extreme cold and wet, very short days and little sunlight – standing little chance of survival. For this reason, the seed becomes dormant, and will only wake up from its dormancy when certain conditions are met.
As herb growers, our challenge is to mimic the natural conditions that break the seed’s dormancy. There are two main ways of doing this:
- Cold-moist stratification: we mimic the cold and wet conditions of a temperate winter either by sowing outdoors in the autumn or by mixing seed with a small amount of sand or soil and keeping in the fridge for a period of time – normally at least a month.
- Scarification: this is the process by which the hard seed coat of a seed is broken down or softened, allowing water to be absorbed by the seed. This can be done by rubbing seed on sandpaper or a file, or in some cases they can be nicked with a knife. Another method is to soak the seed in hot water for a period of time before sowing.
Where to Sow? (indoors or outdoors?)
If you are new to gardening, it is worth pointing out that ‘sowing indoors’ generally refers to sowing in a greenhouse or polytunnel, not in your house. You can sow seed in your house, but bear in mind that some herb seeds require light to germinate and all seedlings require light to grow, so only grow in your house if you have a suitable window ledge, conservatory or somewhere similar.
I have already mentioned that many seeds can either be sown indoors in early spring or directly outdoors once the soil has warmed up. It is not just about timing and temperature though – there are a number of others pros and cons that may help you choose where to sow.
The main advantage of sowing direct is that the seedlings can establish themselves without the shock of being transplanted and having their roots disturbed, normally resulting in a much healthier plant. Certain species, such as California poppy, really don’t like to be moved and any head start you might get from sowing early is normally negated by subsequent poor growth.
The other advantage of course is that pricking out and potting up seedlings can be a time-consuming process. Where possible it makes much more sense to sow the seed in your herb bed and let nature take care of itself.
There is one disadvantage of direct sowing to be aware of; some herb seedlings grow very slowly and if you sow them direct they are likely to become swamped by weeds. When the plants are so small it can be hard to remove the weeds without uprooting the little seedlings. For this reason, we recommend sowing slow growing seedlings in pots or trays in a weed-free seed compost.
What to sow in? Pots, plugs or trays?
Unless you are sowing directly into a bed, you will need to choose whether to sow the seed into pots, plugs or trays (also known as flats).
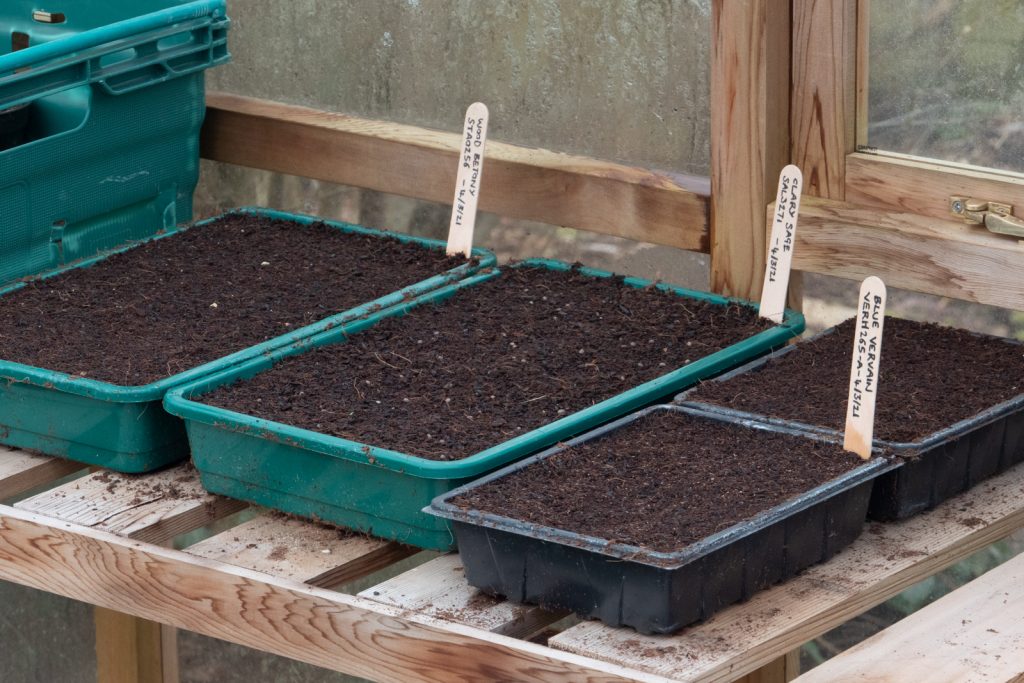
Like many other herb growers, we tend to use trays more than plugs. There are two main reasons for this; the first is that open trays are far less prone to drying out than individual plugs. This is particularly important to bear in mind with species that take a long time to germinate, or continue germinating over a long period. The second reason is that the germination rate of some species can be unpredictable, and sowing them in trays at a higher density can be a more efficient use of space.
Having said that, for some species it makes more sense to sow in plugs, especially if they are reliable germinators and you are a reliable provider of water. The main advantage is that you can plant them straight out (or into a pot) without the delicate and time-consuming job of pricking out small seedlings, and without exposing the roots in the process.
And then there are big seeds, such as blessed thistle and sweet cicely, which we advise sowing a single seed – or two – directly into a larger pot. This gives the seedling plenty of time to grow into its space without hitting the bottom of the tray or plug.
Speaking of which, it is good to be aware of which species grow tap roots (a large, central, and dominant root from which other roots sprout laterally) and to make sure that a tap root is not allowed to hit the bottom of its container. Species with tap-roots, such as burdock and Echinacea angustifolia, should be moved into deeper containers – or planted out – as soon as possible.
How to sow your seeds?
How you sow your seeds will depend on a number of factors. If you are sowing into a bed where there are likely to be a few weeds, it always makes sense to sow the seeds in straight lines. This helps you discern the difference between your seedling and the weeds. If you are sowing into a tray with weed-free compost it makes more sense to distribute the seeds as evenly as you can over the tray.
If you are a vegetable grower you may be familiar with the rule of thumb: “sow at a depth equal to two or three times its diameter”. Whilst this may be true for some herb species, this is not the case for all. In fact, there are many herb seeds – especially the smaller ones – that will only germinate if they are exposed to some light. This means either being on the surface, or covered with a very thin layer of soil or compost – thin enough to allow some light to reach the seeds.
So, make sure you read our guidelines for each species; if they are not light-dependent then you can sow in furrows or make little holes as you would with vegetables. But if it specifies that the seeds are light dependent then sow on the surface, and then press them firmly into soil.
Richo Cech – founder of Strictly Medicinal Seeds in the US and general herb growing guru – tells a great story about how he sowed some seeds (I don’t remember what it was) only for the immaculate seed bed to be trampled on by a dog. A week or two later he came back to find that the only seeds to have germinated were those in the footprints of the dog… a perfect lesson in the importance of firmly pressing or tamping your seeds into the soil!
And what about watering?
All seeds require water to germinate, and all seedlings require water to survive. Everyone knows that, and with that in mind, one of the most common mistakes of an enthusiastic grower is to over-water everything!
The key to watering your seeds and your seedlings is to find the sweet spot to ensure they don’t dry out and they don’t become waterlogged (the plants’ roots and the microorganisms in the soil all need air as well as water). The amount of water needed will vary according to the temperature and the type of compost you’re using. It’s easy to tell when the soil is starting to dry out – just keep a close eye on them and make sure you have a system in place to provide water when it is needed.
There are two main schools of thought with watering; the first is watering from above, the second is watering from below. We usually water our plants from above using a system that produces a fine mist. You can replicate this by using a spray bottle with a misting nozzle. Try to avoid watering seeds and young seedlings with a watering can or hose (unless it has a misting nozzle on the end), as too much force will knock over delicate seedlings.
The second option – watering from below – relies on capillary action for the water to be absorbed through the soil from the bottom to the top. To do this you’ll need to keep your perforated trays or pots in a non-perforated tray that can be filled up a few inches with water. This can only really be done indoors, or under shelter, where it won’t fill up with rain. The main advantage of this method is that it prevents any soil disturbance while you are watering.
Whichever method you go for, it’s always good to pre-moisten the soil (if it isn’t already) before sowing your seeds.
Keeping Records
It’s always good practice to keep records of what you have sown and when (small seedlings can be very hard to identify!). You can’t really beat a lollypop stick label – easily available online. And if you’re the meticulous type, it’s also helpful to keep a record of what went well and what didn’t go well so that you can learn from your successes and mistakes. We keep records of everything, and are continually learning (and referring to past records) all the time.
Don’t be afraid to experiment!
When it comes to sowing guidelines, the Internet is a minefield of contradictory information. So do not be surprised if you come across other websites recommending different practices to us. There are often many ways of achieving the same result, and some methods work better in some places than others.
Our guidelines are based on our experience of growing herbs, mostly in Somerset in the south of England. What works for us may not work for you, and vice-versa. Our main propagation area is in a frost pocket, which is very good for outdoor stratification but not so good for planting out tender seedlings. So please take all of our advice with a pinch of salt and don’t be afraid to experiment!
And please share your results with us – everyone’s experience is equally as valuable in the never-ending journey of herbal education.

